Hi, again, and welcome to our blog.
In this feature, we’re going to discuss some more technical details such as how we prototyped the robot and solution manual, as well as the feedback we received from our users, community partner, faculty, and even fellow students. We hope you enjoy this read.
CAD Models
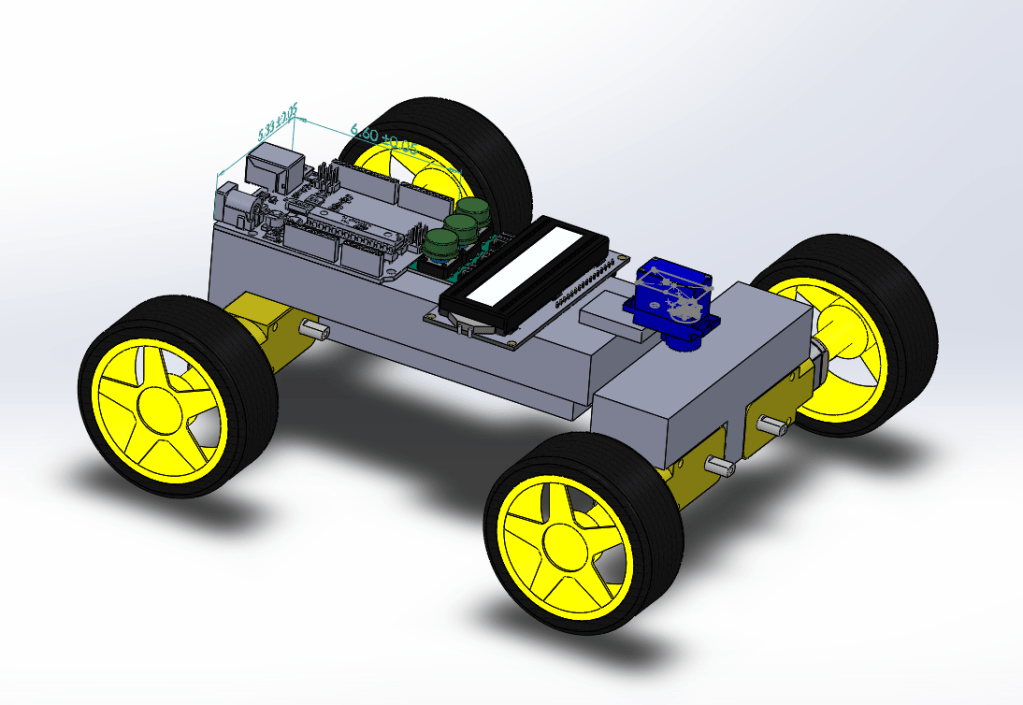
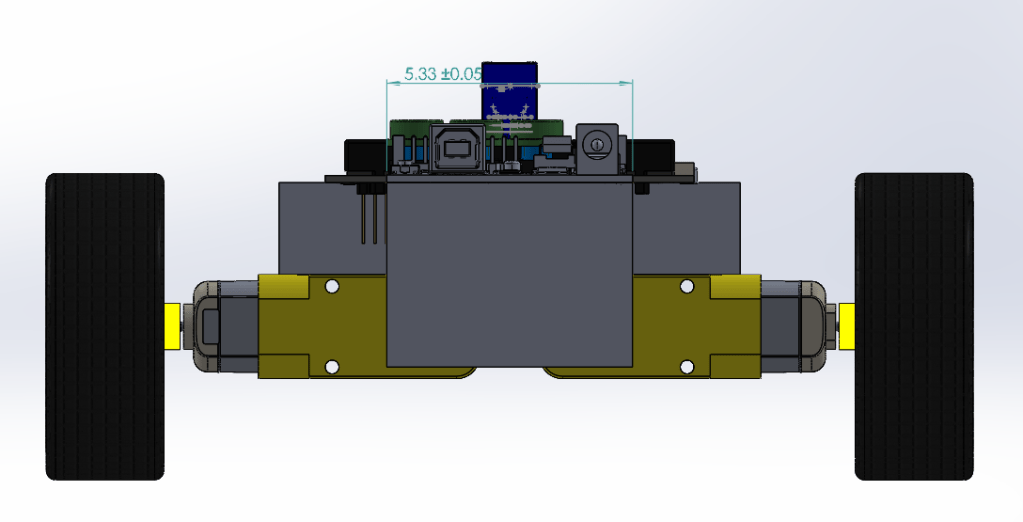
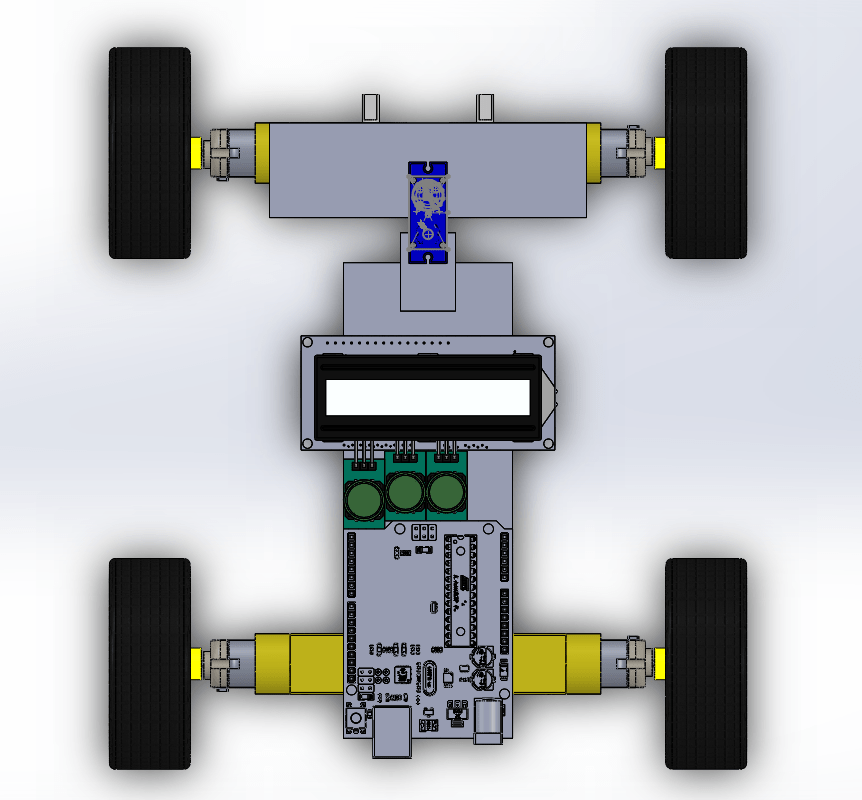
The images above represent the initial CAD prototype we had for the robot. However, this was problematic in many ways. First of all, the long shape of the model would cause there to be an awkward steering mechanism. In addition, it was just too narrow and didn’t provide us with all the features we knew we would need. These considerations were taken into designing the final CAD model as shown below.


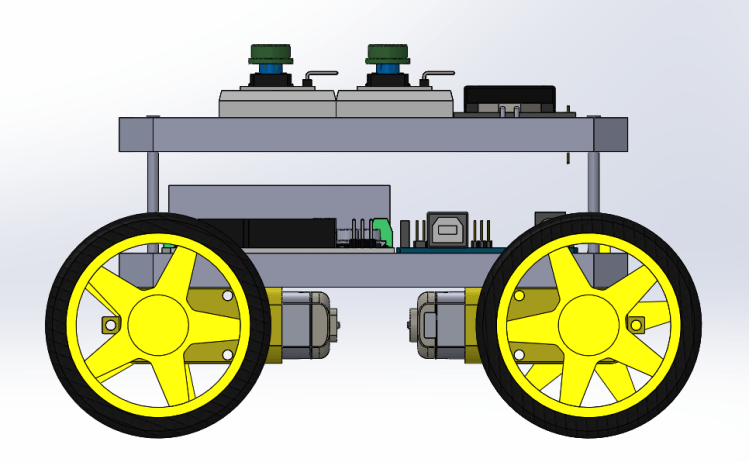
As seen above, the shape of the robot evolved from being a narrow rectangle to being a square shape more similar to actual cars. This made the steering much simpler, and the layout of the push buttons, breadboards, and LCD screen on top make it easier to utilize the full functionality of the robot. Feedback: When we presented this to our users, one of them expressed interest in having a safety covering for the robot to prevent it from collisions and damage, which is something we didn’t think about but definitely something interesting to consider in the next stages.
Low-Fi Prototype
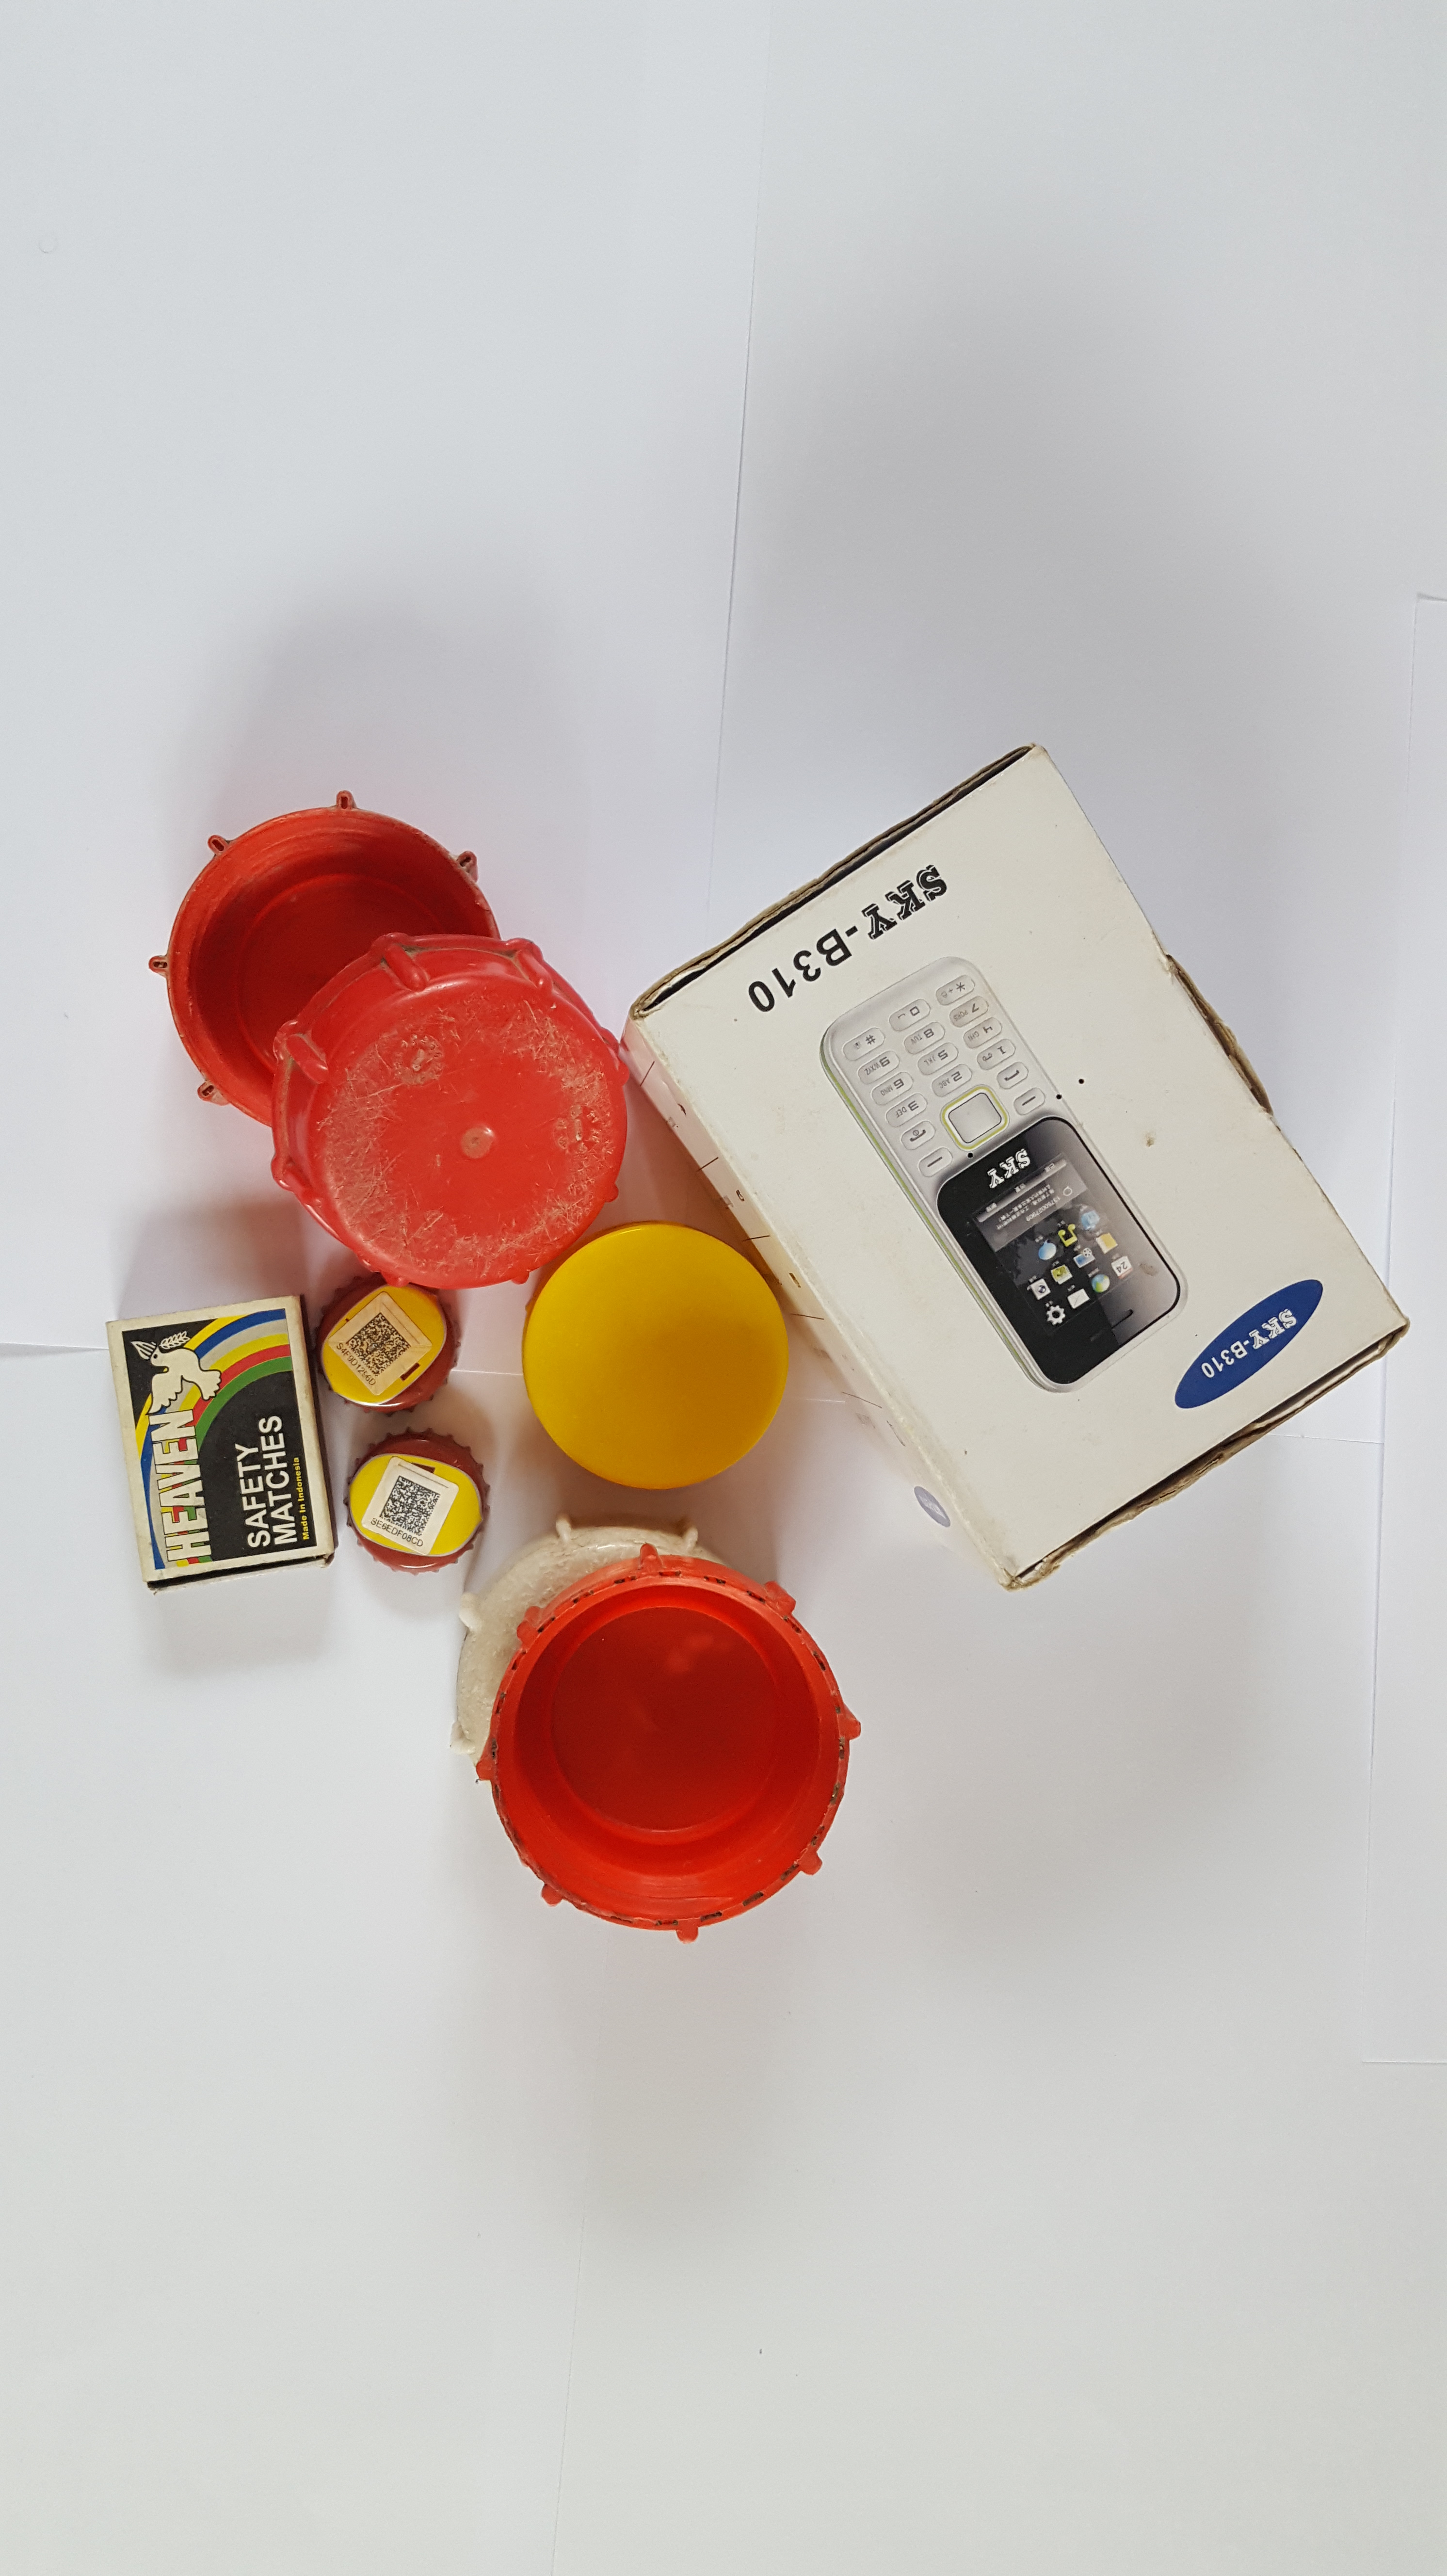
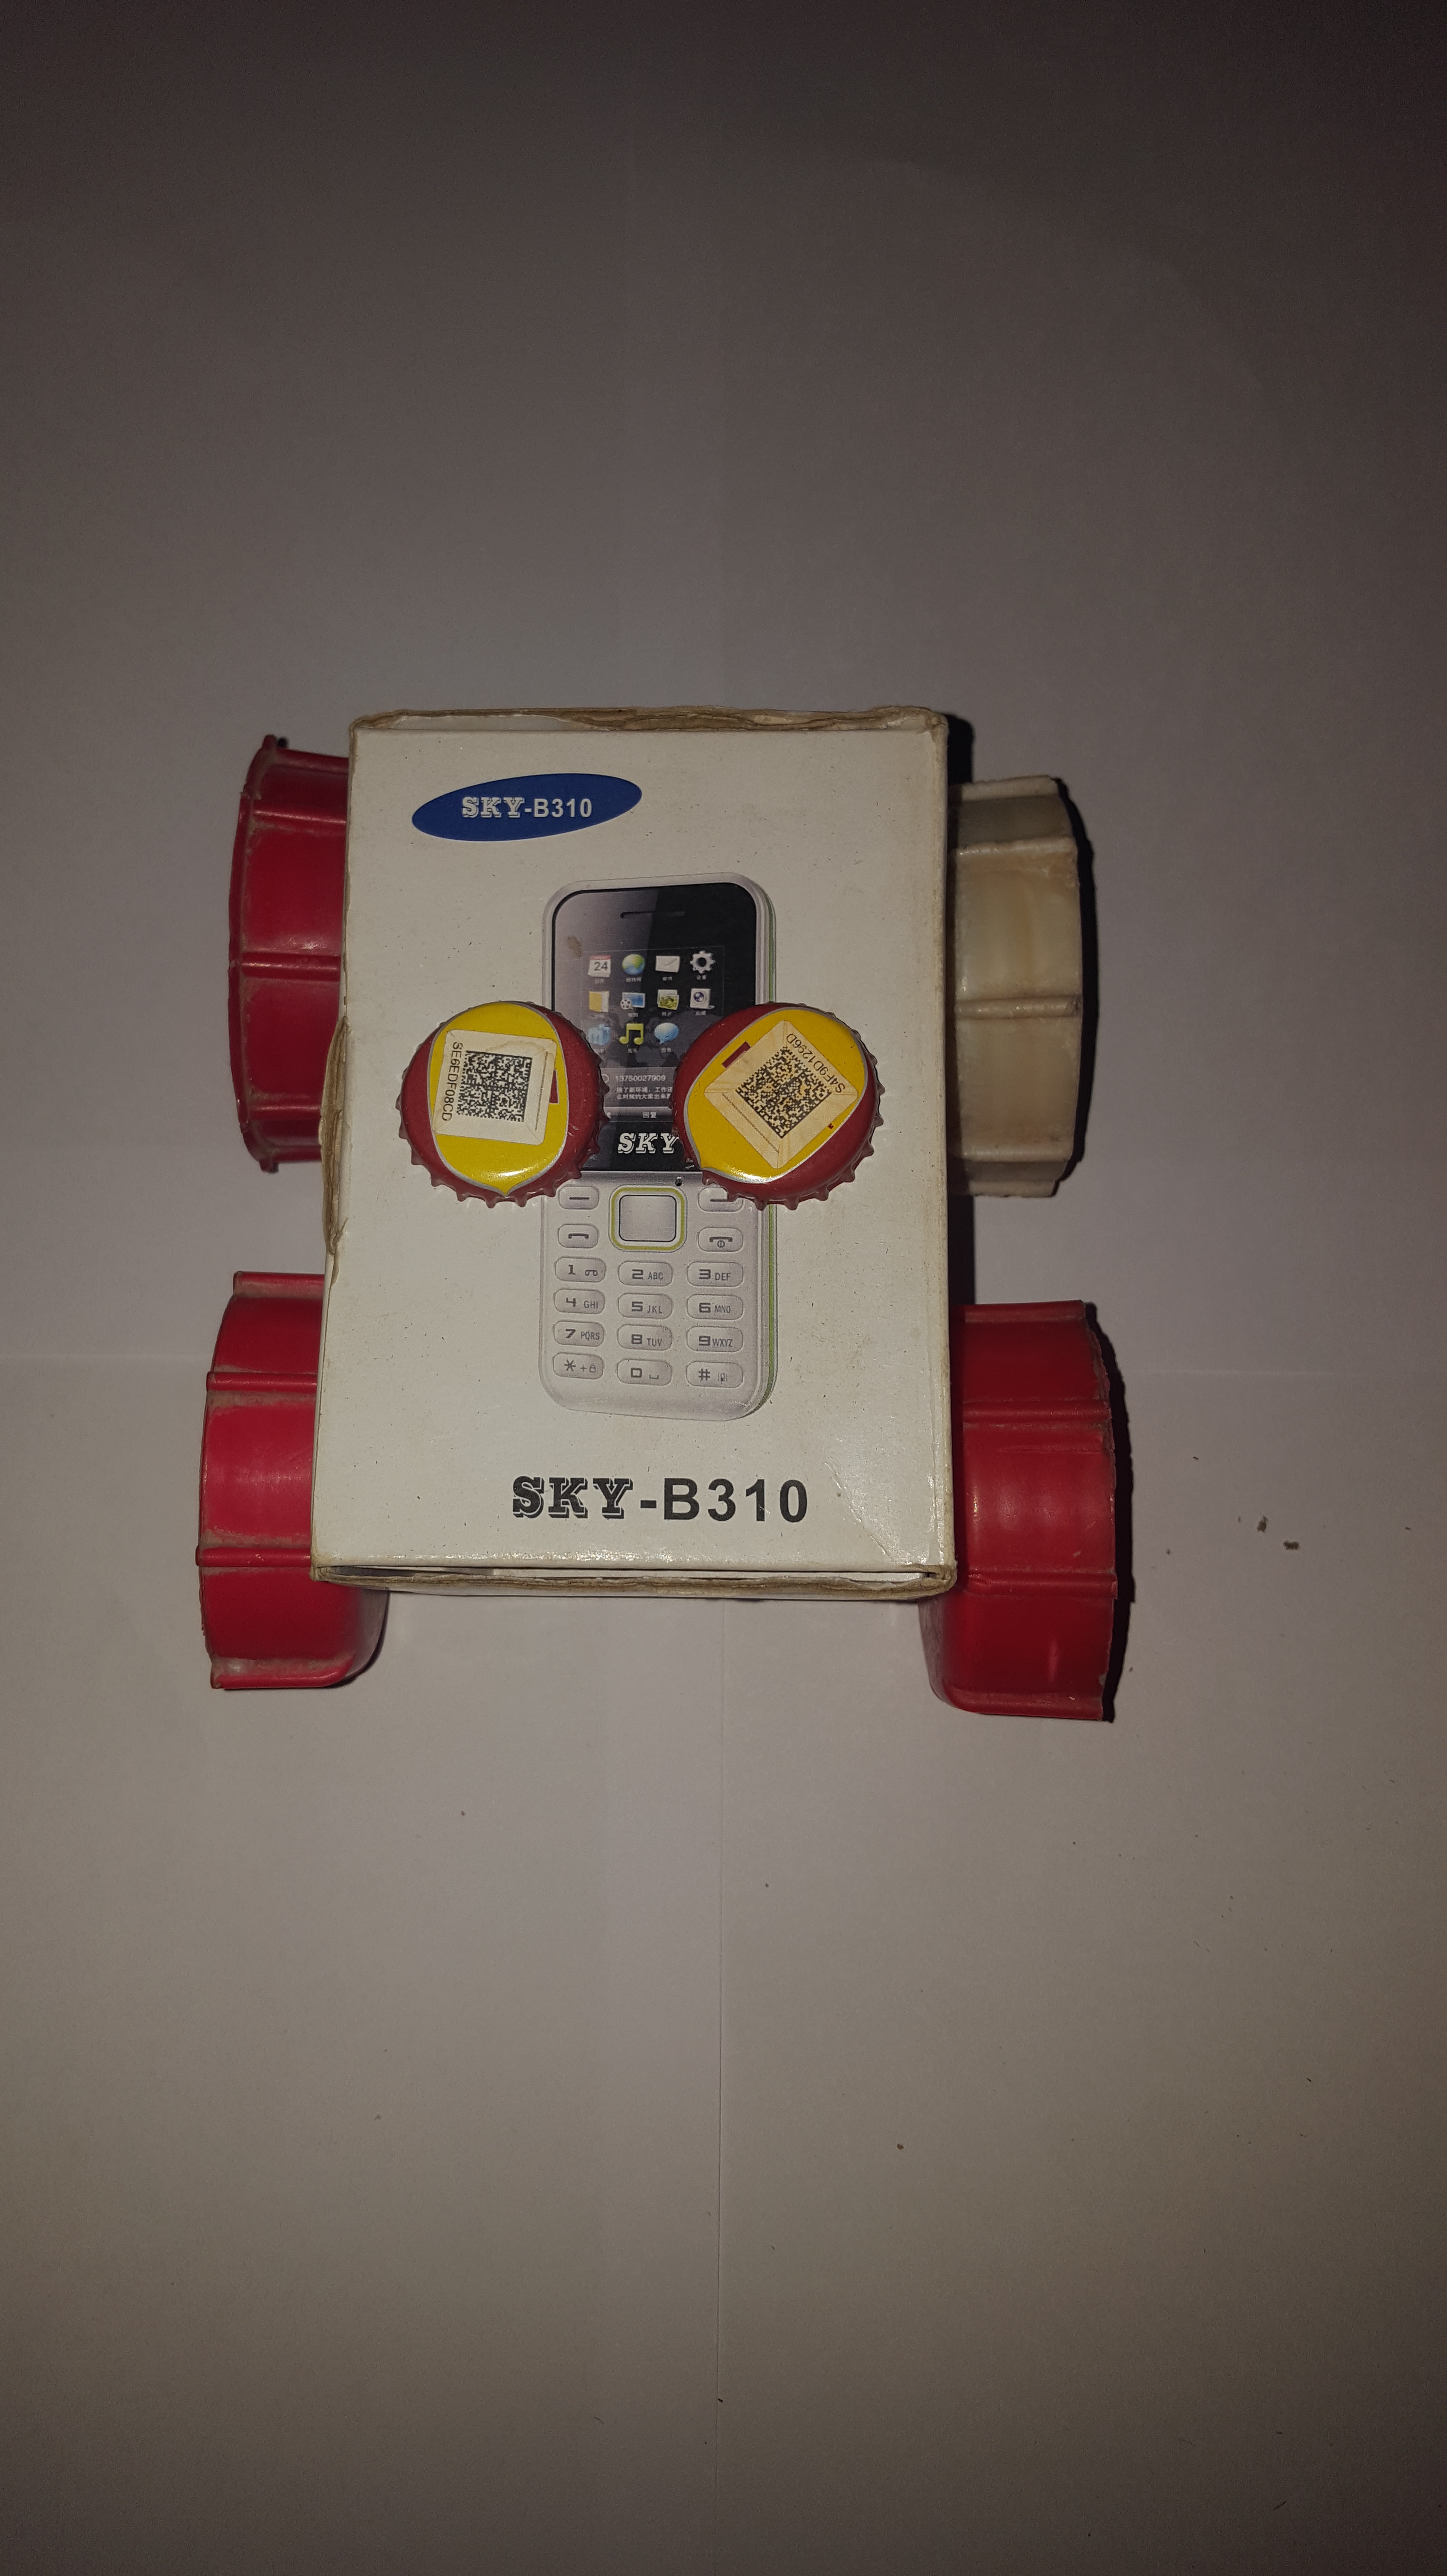

The images above are of the low-fi prototype we built using readily available materials at home. Majority of the feedback we received (from faculty and students alike) is that it was well-built. However, we knew from building it that two push buttons would not be enough to implement full functionality (which is why you saw 4 push buttons on the final CAD model design). One main thing we got from this design, though, was the concept of encapsulation or hiding the internal circuitry of the robot. This is why the final CAD model has two slabs that are seemingly protecting the boards underneath.
Teaching Manual
The low-fi prototype of our teaching manual was a word document with pictures and instructions in it. However, we realized that the meaning of this was lost on our users, fellow students, and esteemed faculty. Even though we had included the document and labelled it as such, we noticed that it wasn’t clear whether or not it was the prototype.
Tests
With respect to performing tests on the low-fi prototype, we didn’t do much except take note of a few design elements we would include in the final design. This is because there was no good way to really test if the robot was working. We had, however, started working on the code and so this was read through over and over again, as well as edited, to produce code that would give the user the best learning experience (discussed in our next post).
‘Til we meet again next time.
Stay safe.
